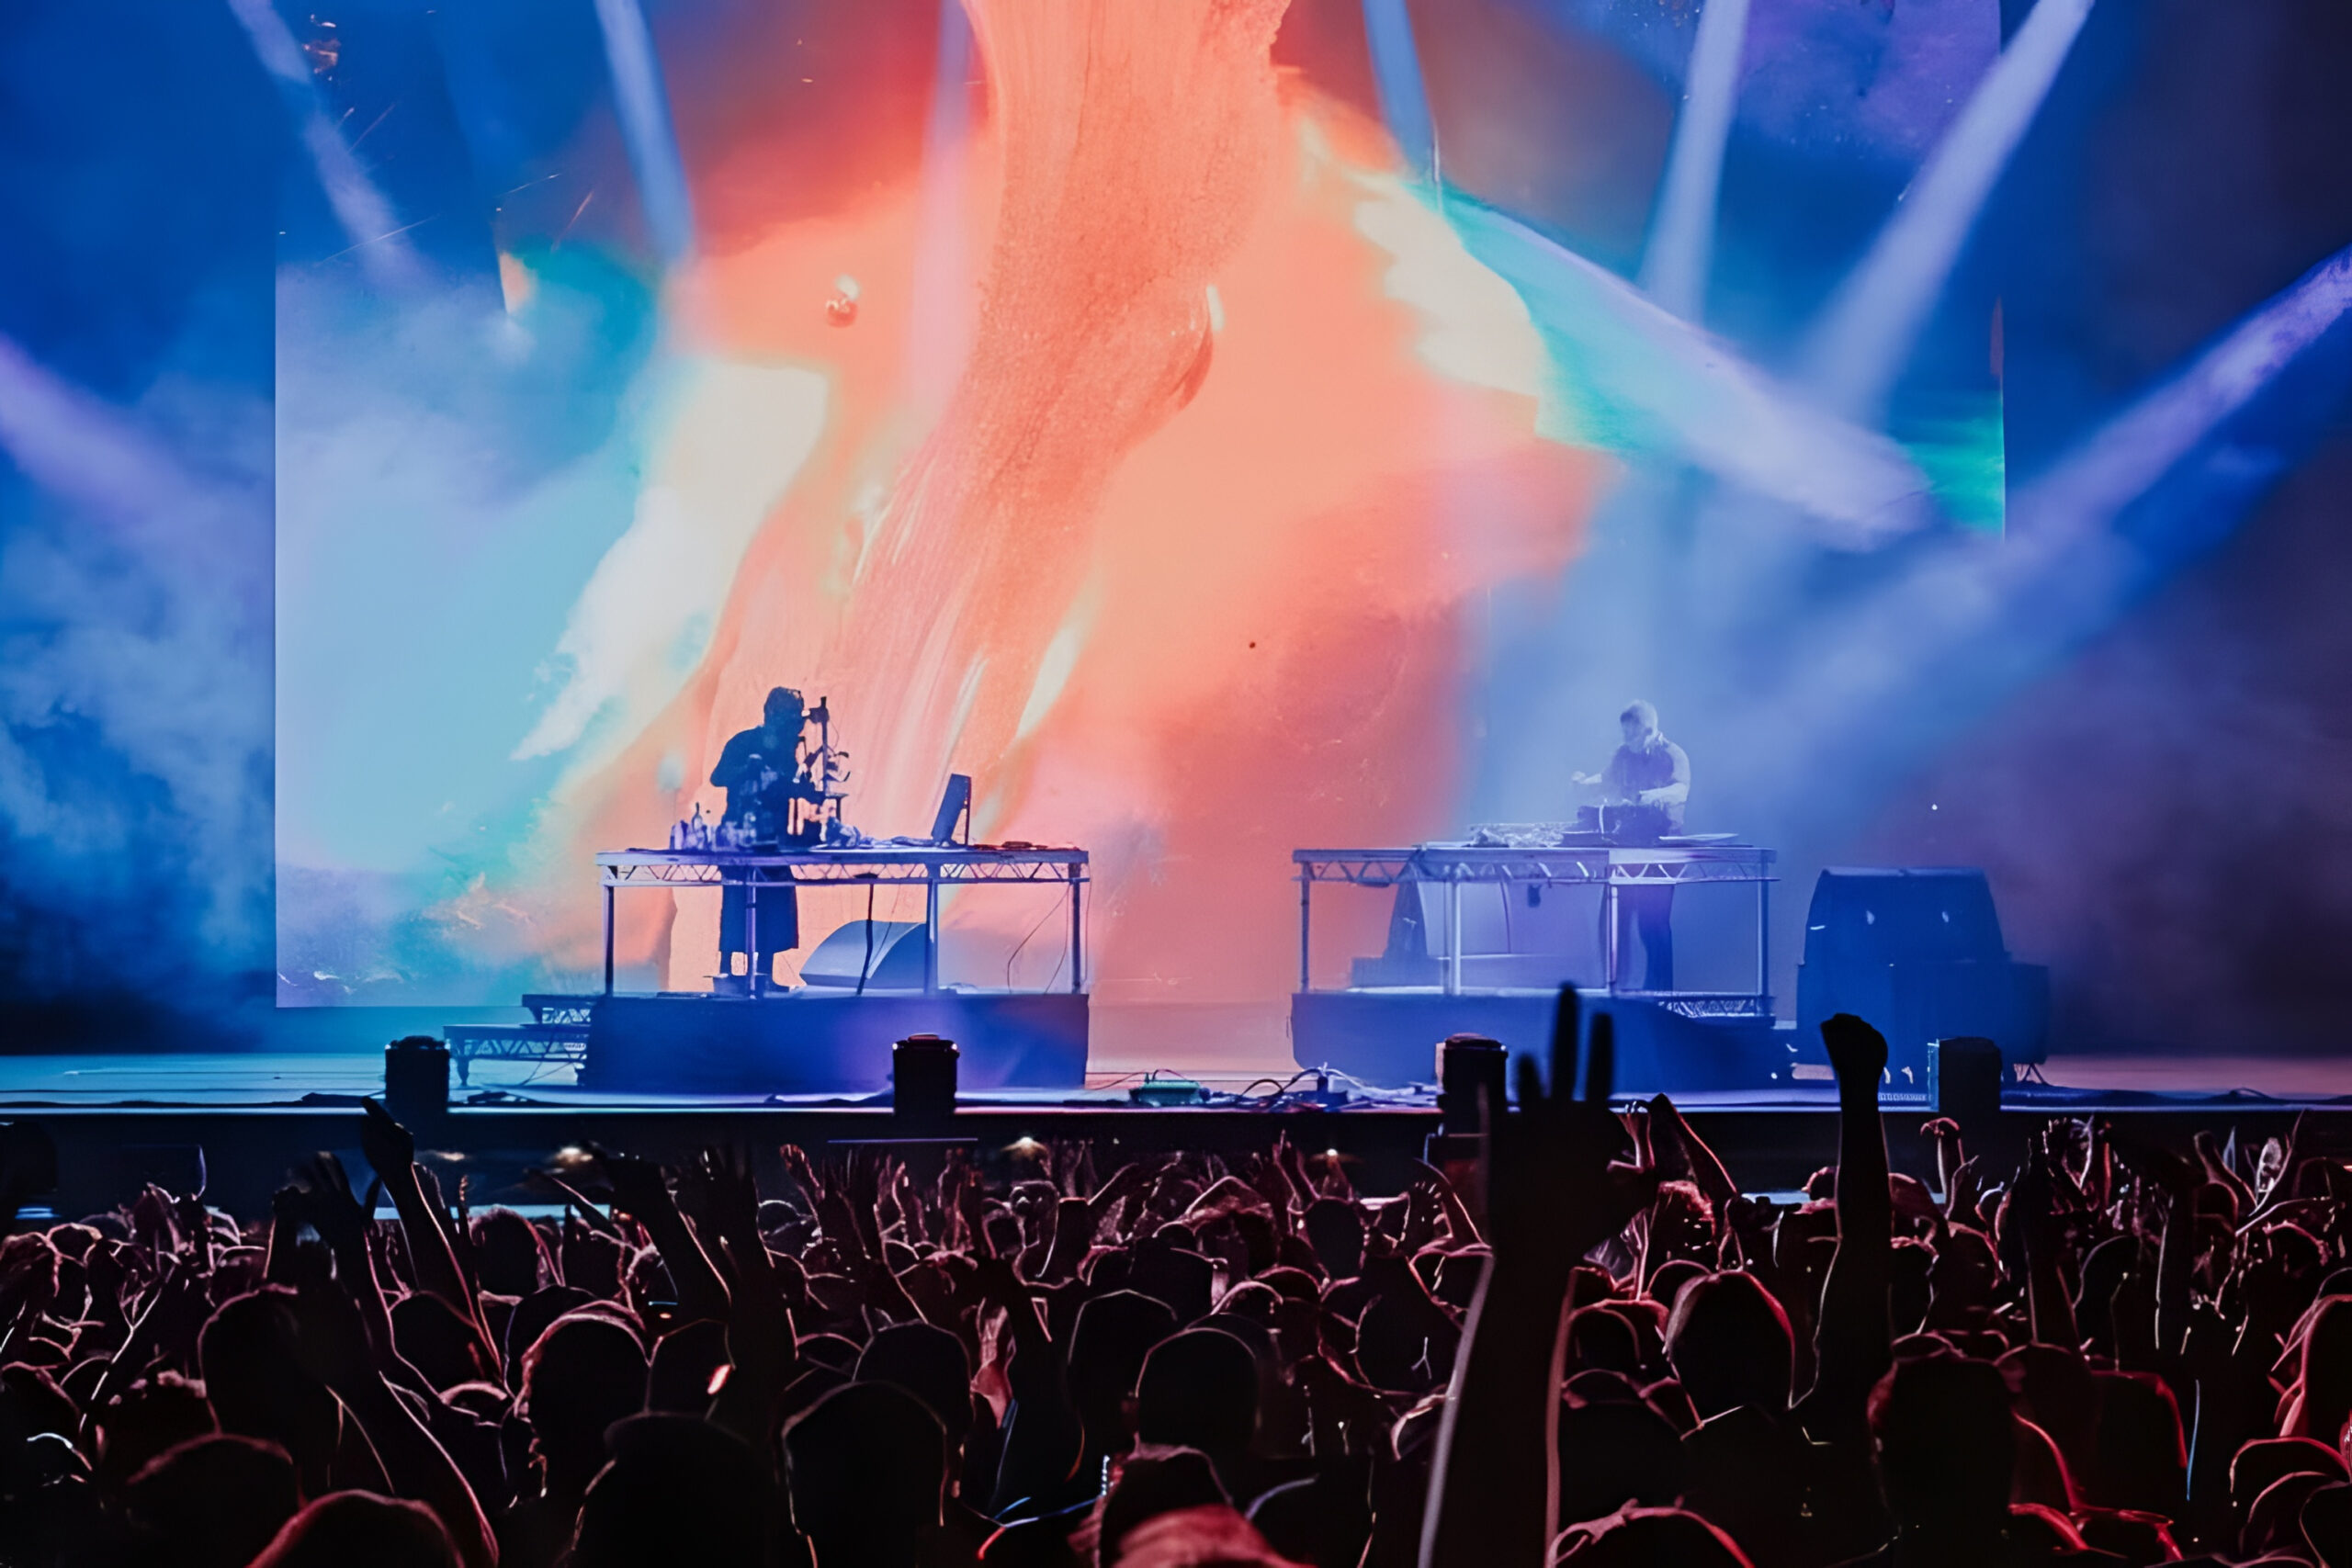
A rising name in Belgium’s electronic music scene, Mondingo is carving out his space with deeply emotive productions and a hybrid approach that blends live performance energy with DJ precision.
Photo credit: Jade-Madoe / Nele-Bogaerts / Justine-Robineau
With a master’s degree in music production and years touring as a live musician for Charlotte Adigéry, Emma Bale, and Hooverphonic, his work bridges introspection and club culture.
Released via SubLife Records, Mondingo’s new single ‘OVER’ is a melancholic yet immersive track, driven by organic textures and haunting vocal work. It offers a fitting preview of the sonic ethos shaping his debut album. The label, founded by French rap legend Booba, stands at the crossroads of pop, electronic, and Afro-house, redefining the sound of tomorrow.
To celebrate the release, Mondingo shares his top five studio insights.
1. My Prophet-6 Workhorse
From pads and plucks to nasty distorted guitar tones, noise risers, and leads — the Prophet-6 is my all-time favorite synth. I’ve had it for over 10 years and know it by heart. My workflow usually starts with jamming until I land on a melody or chord progression. Then I record the MIDI first, tweak or vary it where needed, and send that MIDI back to the Prophet-6. With the notes played perfectly, both hands are free to sculpt the sound — modulating, riding the filter, and bringing it to life.
Ultimately, a synth you know inside out becomes a creative playground, not just a preset machine. And the sound of that synth hitting my two Neve 1073 preamps is just something incredibly hard to recreate in the box.
2. My Return Channels — the core of my mix space
I love working with sends and returns. Here’s my standard return setup:
A: Valhalla Vintage Reverb (2.4s)
B: Stereo 8 t. Tape Delay
C: Slate VerbSuite – Room Reverb (300ms)
D: DBX-style Doubler (Soundtoys MicroShift)
E: “Wipe Out” — Valhalla Ghost Delay (large diffusion) into Modern Huge 10s Valhalla Reverb on the Future setting
F: Spring Reverb
G: Vocal Plate Reverb
Here’s how I use them. A and B are straightforward — they make things bigger, more spacious. C is one of my favorites: this small room makes elements come alive and fill the mix without washing out. It’s perfect for shakers, rims, bass, and vocals. They glue together nicely because they share the same tight space. D is great for widening backing vocals, shakers, or synths without losing presence — just filling the sides. E, or “Wipe Out”, is a ghost-style delay into a huge diffused 10-second Future reverb. It’s incredible for transitions or for adding that floating space after the last word of a vocal line, creating a beautiful ambient tail triggered by any note in your track. I’m an absolute spring reverb fan, and F adds that indie, characterful grit to snares, vocals, and guitars. After years of searching, the best-sounding plugin for me so far is the Arturia Spring 636 — but I’ll probably buy an analog unit next. G is my dedicated plate for lead vocals (Slate VerbSuite again). I place a FabFilter C after it with the lead vocal as the sidechain input so the reverb “ducks,” keeping the vocal clear while filling the spaces between phrases.
3. Haas Effect — widening without phase headaches
If I want extra width without losing mono impact or creating phase issues, I use the classic Haas effect. (PML has a great 2-knob Ableton preset.) It splits the signal, pans it left and right, and delays one side just a tiny bit until it hits the sweet spot. I always check in mono. This works magic on synths, pads, and shakers.
4. Drive EQ — harmonic shaping instead of simple EQ
I love adding drive. It colors a sound in a way a clean EQ never can — adding harmonics and richness. I use Dragon EQ by Safari Pedals all the time for this. I can pick the exact frequency range I want to pop out in the mix and not just boost it, but crank it. Perfect on the mids of growling basses, for example, it makes them bite and stand out.
5. Vocal Ganging — my ‘choir’ approach
For stacked, “choir-like” vocals, I record six takes per vocal stem (not including backing vocals). I’m very picky about selecting and editing them. My panning layout is: two at 50L / 50R, two at 35L / 35R, and two at 10L / 10R. This gives a massive, full stereo stack. I then compress and push it with Ableton OTT — push hard, then dial the dry/wet down to 10–15%.
After that, I send the whole group to my doubler bus for even more width, and to my room reverb to make them sit in an ambient space. The result is a huge, wide vocal texture that stays controlled and musical.
Mondingo’s ‘OVER’ is out now on SubLife Records. Stream and download here.