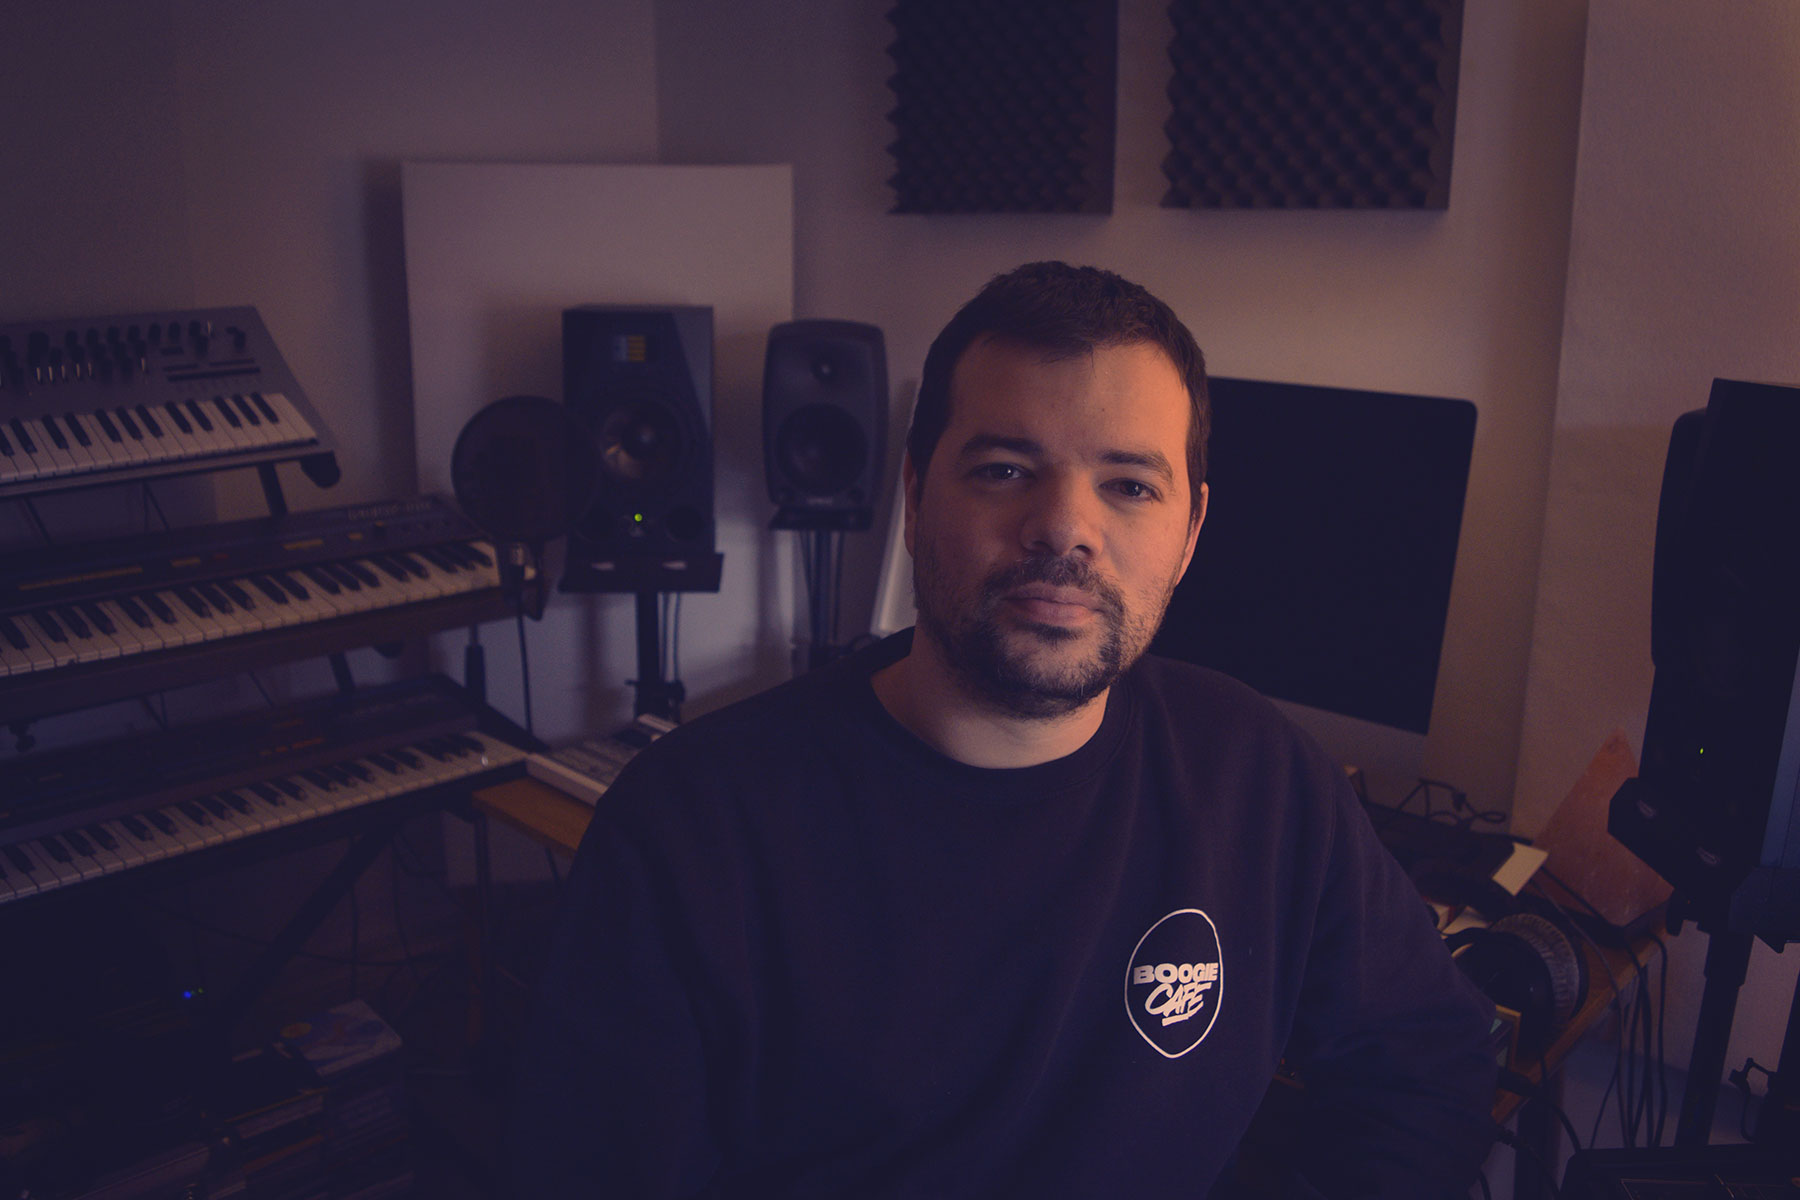

Richard Seeley has built his studio practice around one central idea: creative work becomes more effective when inspiration, arrangement, and technical processing are treated as distinct stages.
Photo credit: Richard Seeley – Official
Ahead of the August 17th release of ‘Seeza Project No 4’ via Glue Music, featuring a remix from DeWalta, the producer shares five practical lessons on protecting momentum, shaping low-end space, and recognizing what each studio session is best suited for.
1. Know your state of mind
One thing I’ve learned over the years is not to treat every studio session in the same way. Before I start, I’ll usually assess where my head is at. Am I feeling fresh, inspired, and genuinely creative, or am I a little less enthusiastic but still focused enough to work?
If I’m feeling creative, that’s when I’ll concentrate on writing: finding hooks, experimenting with sounds, building grooves, and starting new ideas. I don’t want to waste that creative energy doing studio admin.
If I’m not feeling particularly inspired, I won’t force myself to write something. That’s the perfect time to work on arrangements, processing, editing, organising projects and all the less exciting jobs that still need doing.
Knowing my state of mind before I start means I use my studio time much more effectively. You don’t necessarily need to feel inspired to be productive.
2. Don’t mix while you’re creating
When I’m in a creative state, I try not to interrupt it by getting too involved with processing. I work in Ableton’s Session View with all my hardware switched on and connected, so I can keep the track running while I record synths, use the microphone, and experiment with different ideas.
At this stage, the one relationship I do pay attention to is the kick and bass. I want those two elements working together from the beginning, but beyond that I’m much more interested in capturing ideas than reaching for plugins.
What I do think about constantly is frequency. Every time I introduce a new sound, I’m aware of where it sits in the spectrum and whether there’s actually space for it. Choosing sounds that naturally occupy their own space means you need far less corrective processing later.
For me, the creative stage should have momentum. Get the ideas down while they’re coming and leave the detailed processing for another session.
3. Stop trying to write the ‘Big One’
A mistake I made for years was going into the studio trying to write the big one; the track, the hit, the one that was somehow going to stand above everything else. The problem is that putting that expectation on every idea can get in the way of actually making good music.
These days I’m much less concerned with trying to manufacture a big moment. I concentrate on three things: groove, flow, and sonic clarity. Does the track move properly? Does the arrangement flow naturally? Can I hear every element clearly, and does everything have a purpose?
Particularly with club music, a track doesn’t necessarily need a huge hook or an obvious moment to be effective. Sometimes the records that appear deceptively simple are the ones that work best on a dance floor.
Take the pressure off trying to write a hit. Concentrate on making the track work and let everything else happen naturally.
4. Finish the idea before you arrange it
I generally know a track is going to work before I even start arranging it. I build the core idea in Ableton’s Session View and let it run while I develop the groove, sounds, and musical elements. By the time I move into Arrangement View, I want the identity of the track to already be there.
Arrangement isn’t where I try to rescue an idea or suddenly turn it into something interesting. It’s about taking something that already works and giving it structure and flow.
I’ll still introduce final elements during the arrangement; perhaps some additional percussion or light atmospheric sounds – but they’re there to glue everything together and create cohesion rather than fundamentally change the track.
Try getting 90% of the track there before you start arranging. It stops you going off-piste during the arrangement, which can easily happen when the core idea isn’t fully formed.
5. Tighten the kick and let the sub do the heavy lifting
For years I had a bad habit of allowing my kick drum to carry too much of the low end. I’d choose big, booming kicks because they sounded great in isolation, but once you start building a track around them, they can consume a huge amount of space.
Now I tend to do the opposite: tighten, tighten, tighten. I want the kick to be relatively short; more of a knock with punch than a long boom.
I’ll then use an EQ or spectrum analyser to see where the fundamental of the kick is hitting. Depending on the sample, you might find that peak somewhere around 60–80 Hz. I can then build the deeper weight underneath it with a clean sub, perhaps sitting more around the 40–50 Hz region. Those numbers aren’t rules; use your ears and look at what the sounds are actually doing.
You’re essentially separating two jobs. The kick provides the punch and impact, while the sub provides the depth and weight. Together they can give you the huge low end you were originally trying to achieve with the kick alone, but with far more control and clarity.
Don’t automatically reach for a bigger kick when you want a bigger low end. Sometimes the answer is a smaller, tighter kick with the right sub underneath it.

Richard Seeley’s ‘Seeza Project No 4’ arrives on August 17th via Glue Music. Pre-order your copy here.
Follow Richard Seeley: Spotify | Soundcloud | Instagram